Stage 04 · Years 6–11
Arduino Inventor
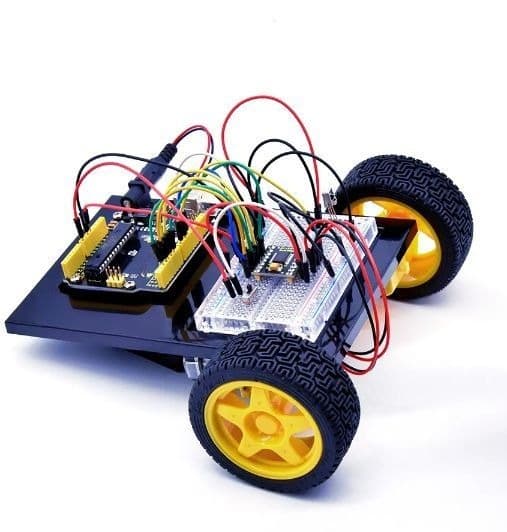
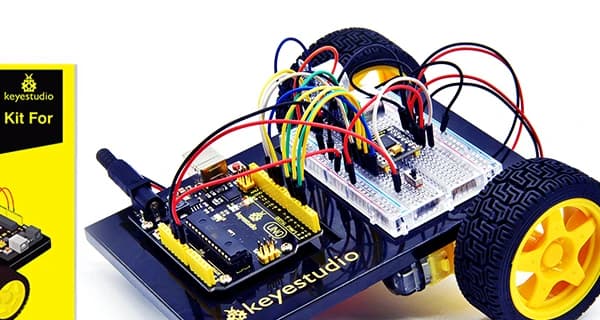
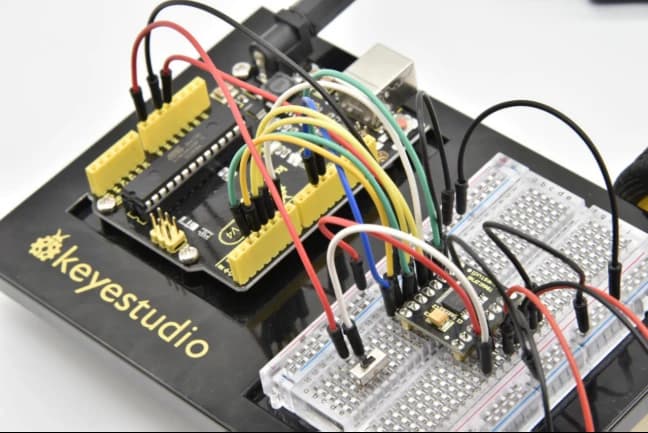
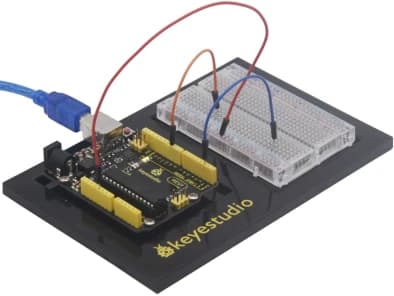
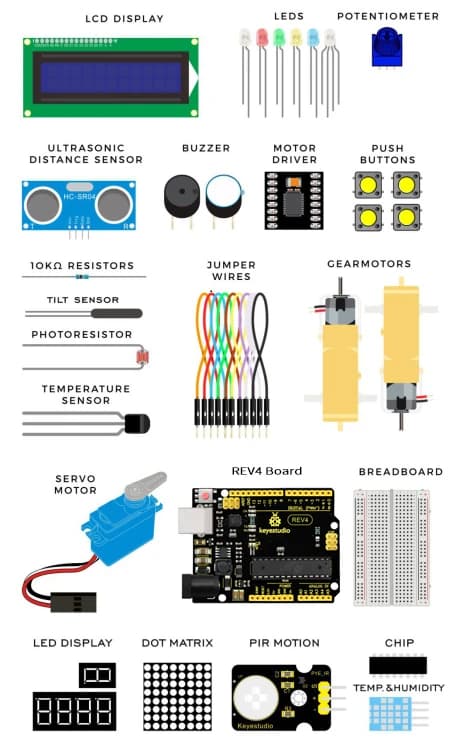
Students start on a breadboard: lights, buttons, sensors, sound, and displays. They keep a record of each change and learn to find a wiring fault. Then they assemble a classroom robot car and program light following, remote driving, an ultrasonic stop, and object following. Class uses an Arduino-compatible inventor kit during sessions.
Best for
Can follow a simple wiring diagram
Students build
Starter circuits plus a sensor-driven robot car
Ends with
Robot car they can demonstrate
The learning journey
How the build develops.
The exact timetable can vary by school, but every program follows the same progression from idea to tested result.
- 01
Light an LED, read a button, and use a first sensor on a breadboard
- 02
Add sound, a display, and a servo, and keep a test record
- 03
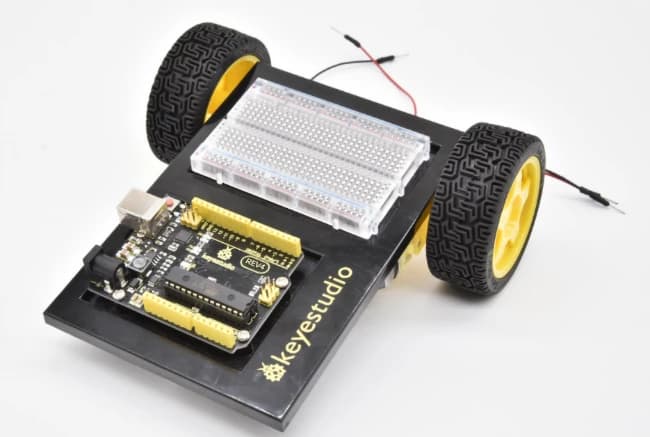
Assemble the robot car and set safe motor limits
- 04
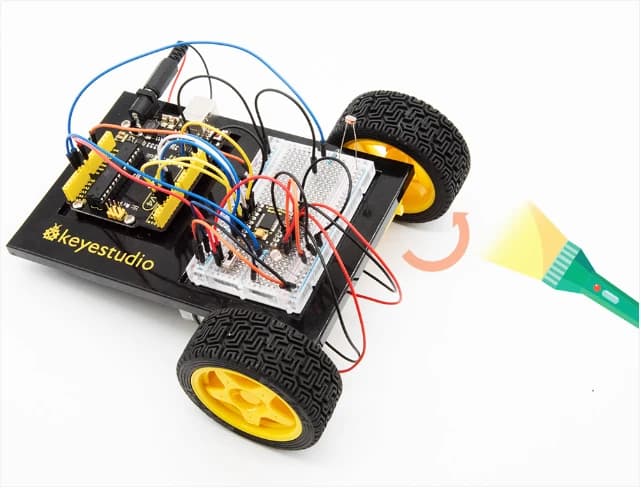
Program light following, remote driving, an ultrasonic stop, and object following
Skills students practice
Learning that shows up in the build.
- Circuit building
- Sensors and displays
- Arduino programming
- Robot car behaviors
What's included
- Guided school sessions
- Arduino-compatible inventor kit during class
- Wiring and test records
- Robot-car demonstration
Prerequisite
Comfort reading a simple wiring diagram. Build Your First Robot helps, but older beginners can start here.
School availability
Is Arduino Inventor available at your child's school?
Send us the school and year. We'll confirm availability and explain the next step.